Unless extra lights are work lights (i.e. only used when not driving), the law requires additional front lights to follow the high-beam signal, i.e. the CAN bus signal in any modern car.
There are two (three) ways to do this. Either the actual cable carrying the signal is cut and spliced into the extra-light cabling, or the cable is put into an induction sensing device - both of these require physical access to the original cables. In terms of LED lighting etc. in modern cars, this is sometimes easier said than done.
The Swedish company XBB has developed a smart OBD dongle which is attached to the ODB diagnostics port inside the vehicle (usually underneath the steering wheel) and then communicates via Bluetooth to a relay ("XBB PowerUnit") under the hood, where the extra light cables are simply connected as you would to a normal relay.
They also have a XBB Button which allows for selectively switching lights off / overriding the CAN Bus automatic high-beam following signal (useful in heavy snowfall for example).

Via the iOS/Android app the two outputs of the XBB relay are simply mapped to an existing CAN-bus signal, such as "Follow Hi-Beam" or "Follow Reverse Light" etc. - super easy and convenient.
This is what we chose for the front LED lights (2x Lazer Lights Tripple R750's in the grill, as well as a Strands Siberia Dark Knight Identity 20" bar over the license plate).
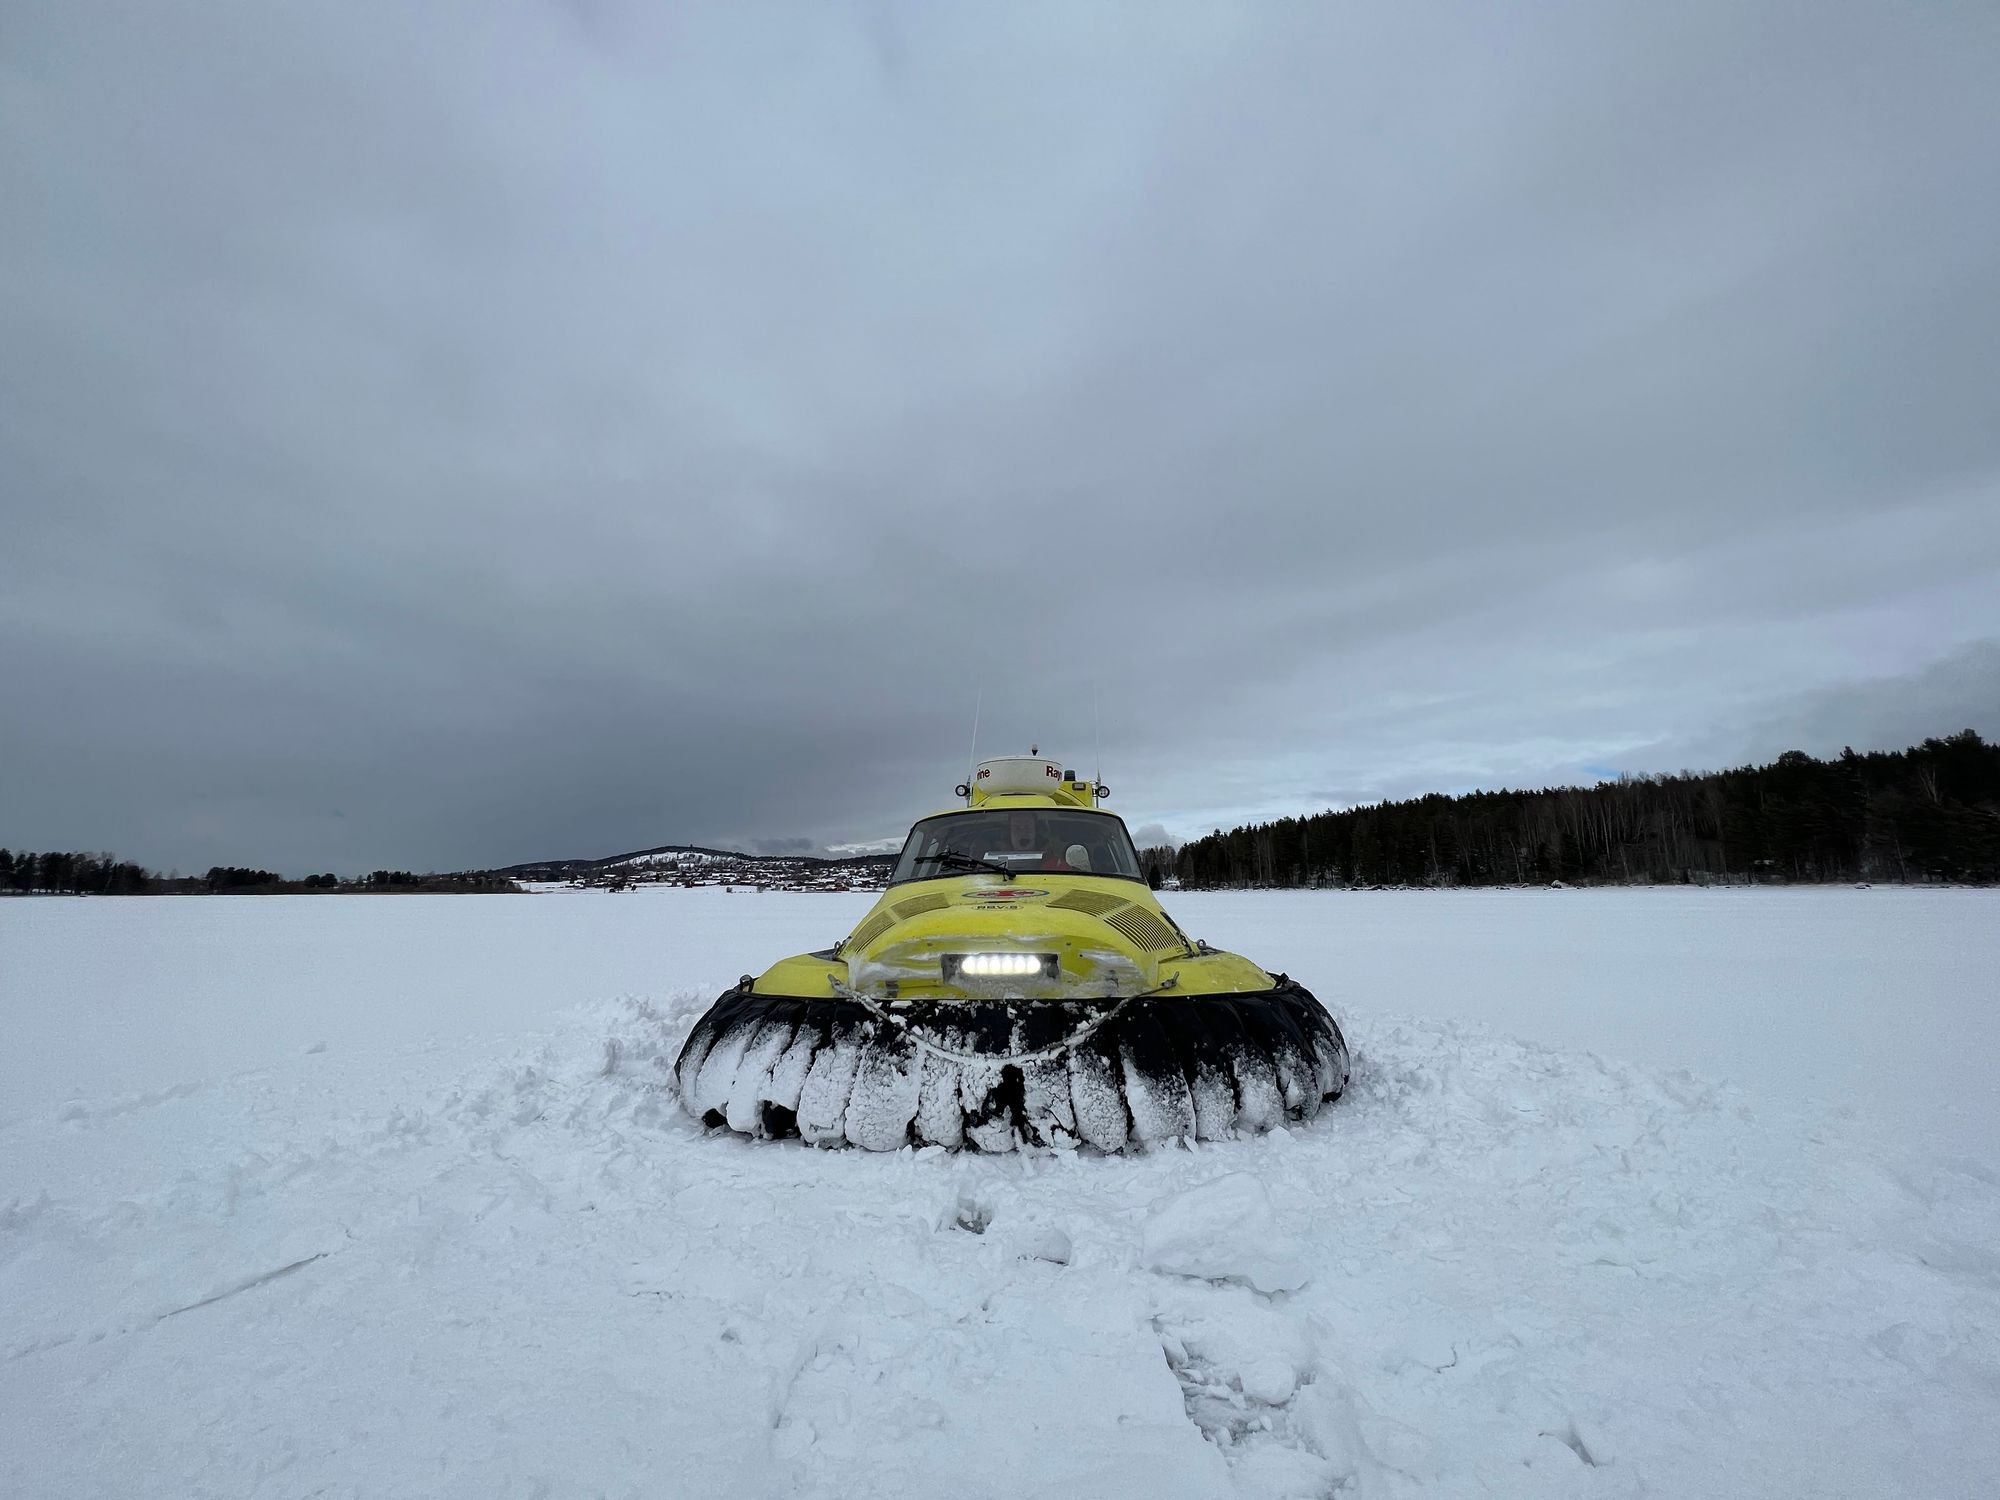
However, we wanted more lights towards the back as well, and these were going to be pure work lights, i.e. a switch should select when they are used (i.e. I don't want to blind people behind me when reversing on a normal parking lot obviously) - such as when reversing with a trailer along a forest road, or when stopped in a place where extra warning lights are useful (running into a wild animal / towing someone in winter / reversing with a boat or hovercraft* on a trailer etc.)
*in the Sea Rescue team we sometimes trailer funky vehicles!
The selected 'route' for these is as following:
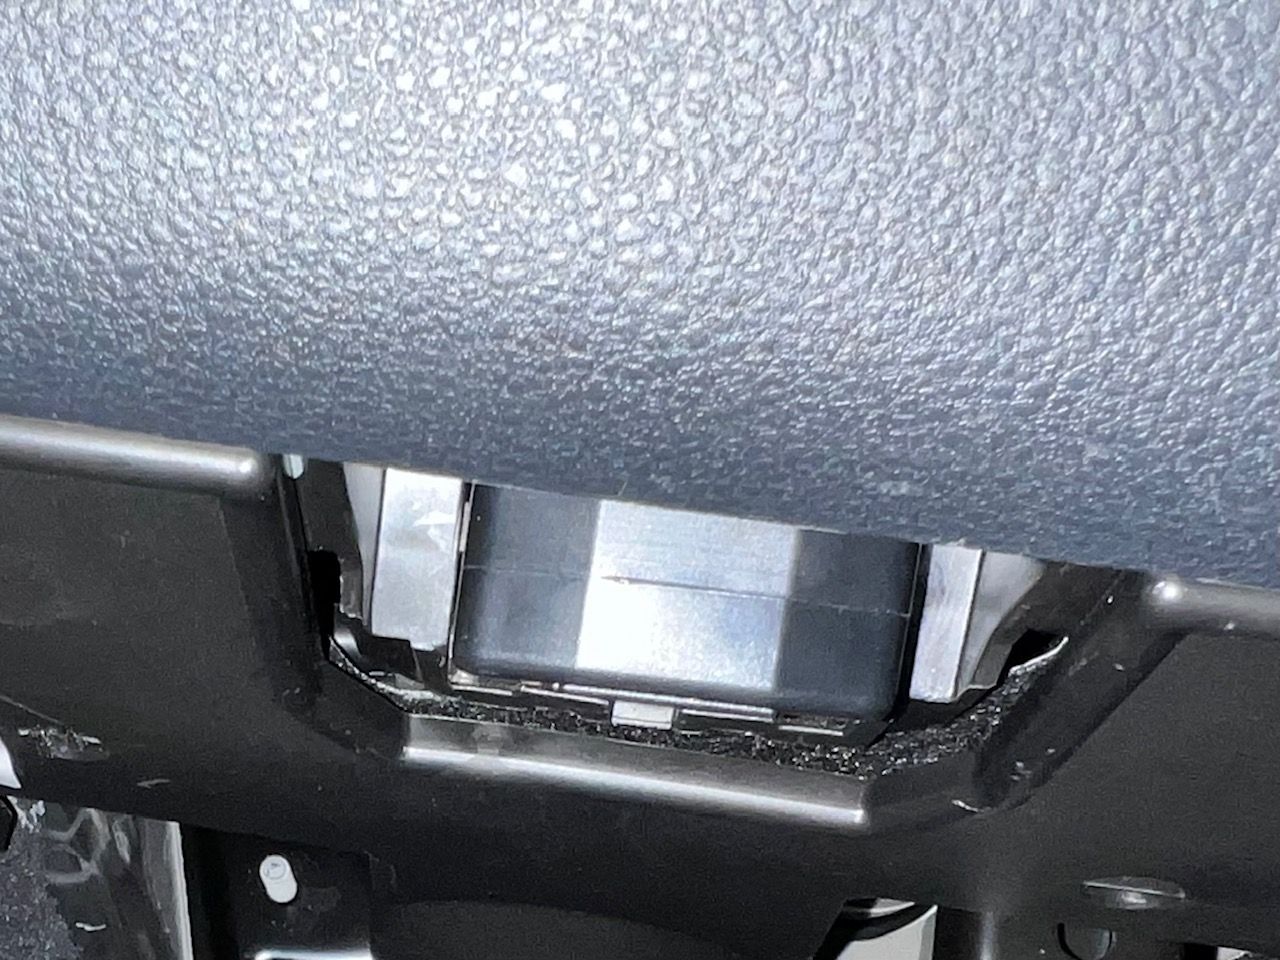
From the lights, a cable (German quality LAPP Ölflex Standard 5G 1,5mm) goes through a waterproof Scanstrut DS-H10 connector mounted on the California aluminium roof to the inner roof. This is a bit tricky if you aren't very far back on the roof, as the dense foam directly under the aluminium shell of the roof has zero flex and you need a wire to poke through. From there, a small hole is drilled into the side of the "bed" upstairs (under the mattress) in the California. The cable is then routed down the D-beam of the van, and alongside the side panel, behind the mini-kitchen. all covered up by the interior plastic later.
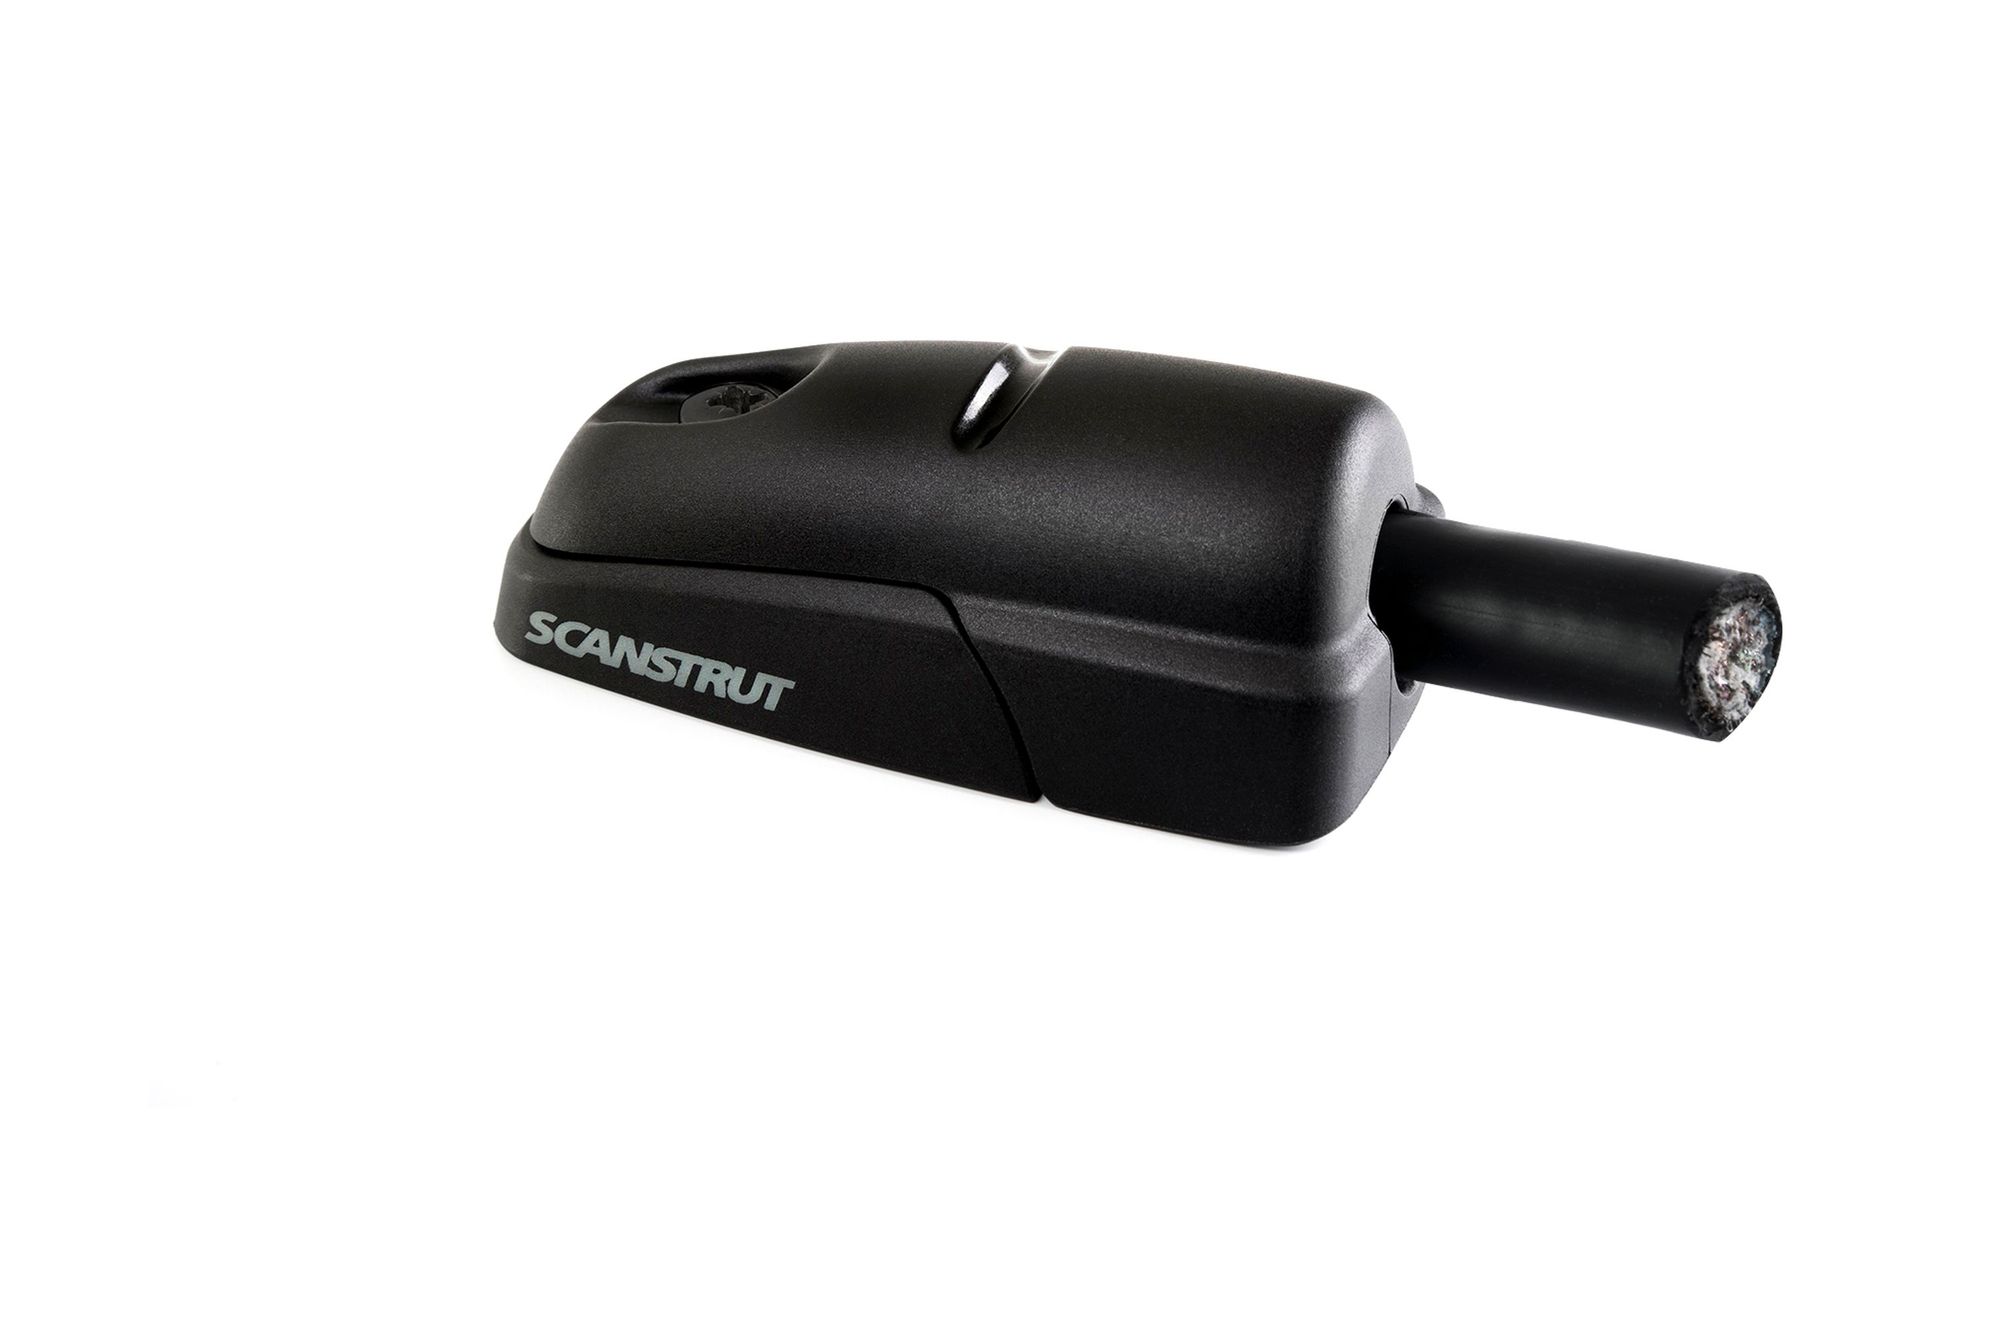
Scanstrut DS-H10-BLK
https://www.scanstrut.com/marine/cable-seal/horizontal/ds-h10-blk

LAPP Ölflex Classic 110 5 x 1,5mm
https://www.reichelt.de/se/de/steuerleitung-classic-110-5-x-1-5-mm-25-m-mit-pe-cl110-5g1-5-25-p196020.html
Note: Depending on your lights, obviously you might get by with a 2-lead cable as well (12V plus & ground). The Strands Siberia Red Fox have a DT6-connector with five leads though (red for 12V plus of the white light, black for ground(negative), green for flashing warning light, yellow for amber position light, grey for red position light), all of which I intend to use.
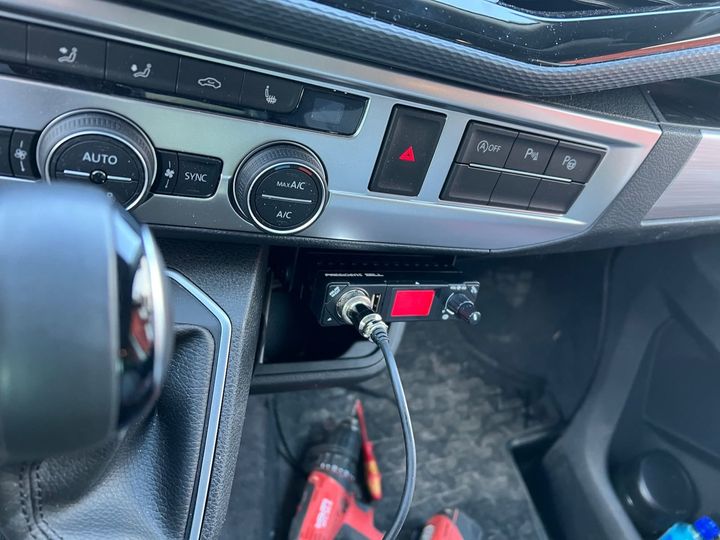
After the cable passes the rear speaker and the mini-kitchen of the Beach, it continues UP the B-Beam (the one with the seat belt), over the door archway and down in the A-beam, towards the driver's side air-vent and to the aftermarket switch panel. To the switch panel, I also run a ground cable to the ground-point in the A-Beam where we previously connected the dash-cam ground as well as a 12V plus from the battery under the driver seat to supply power to the switch/lights in the first place. Note you can of course chose to connect the power to the front battery, but I preferred to use the interior camping battery - first, I can leave the position lights on for ages on a campsite or parking lot without worrying it may drain the starter battery, and secondly, it provides a small amount of redundancy for the flashing warning lights in case of a frontal damage to the battery.
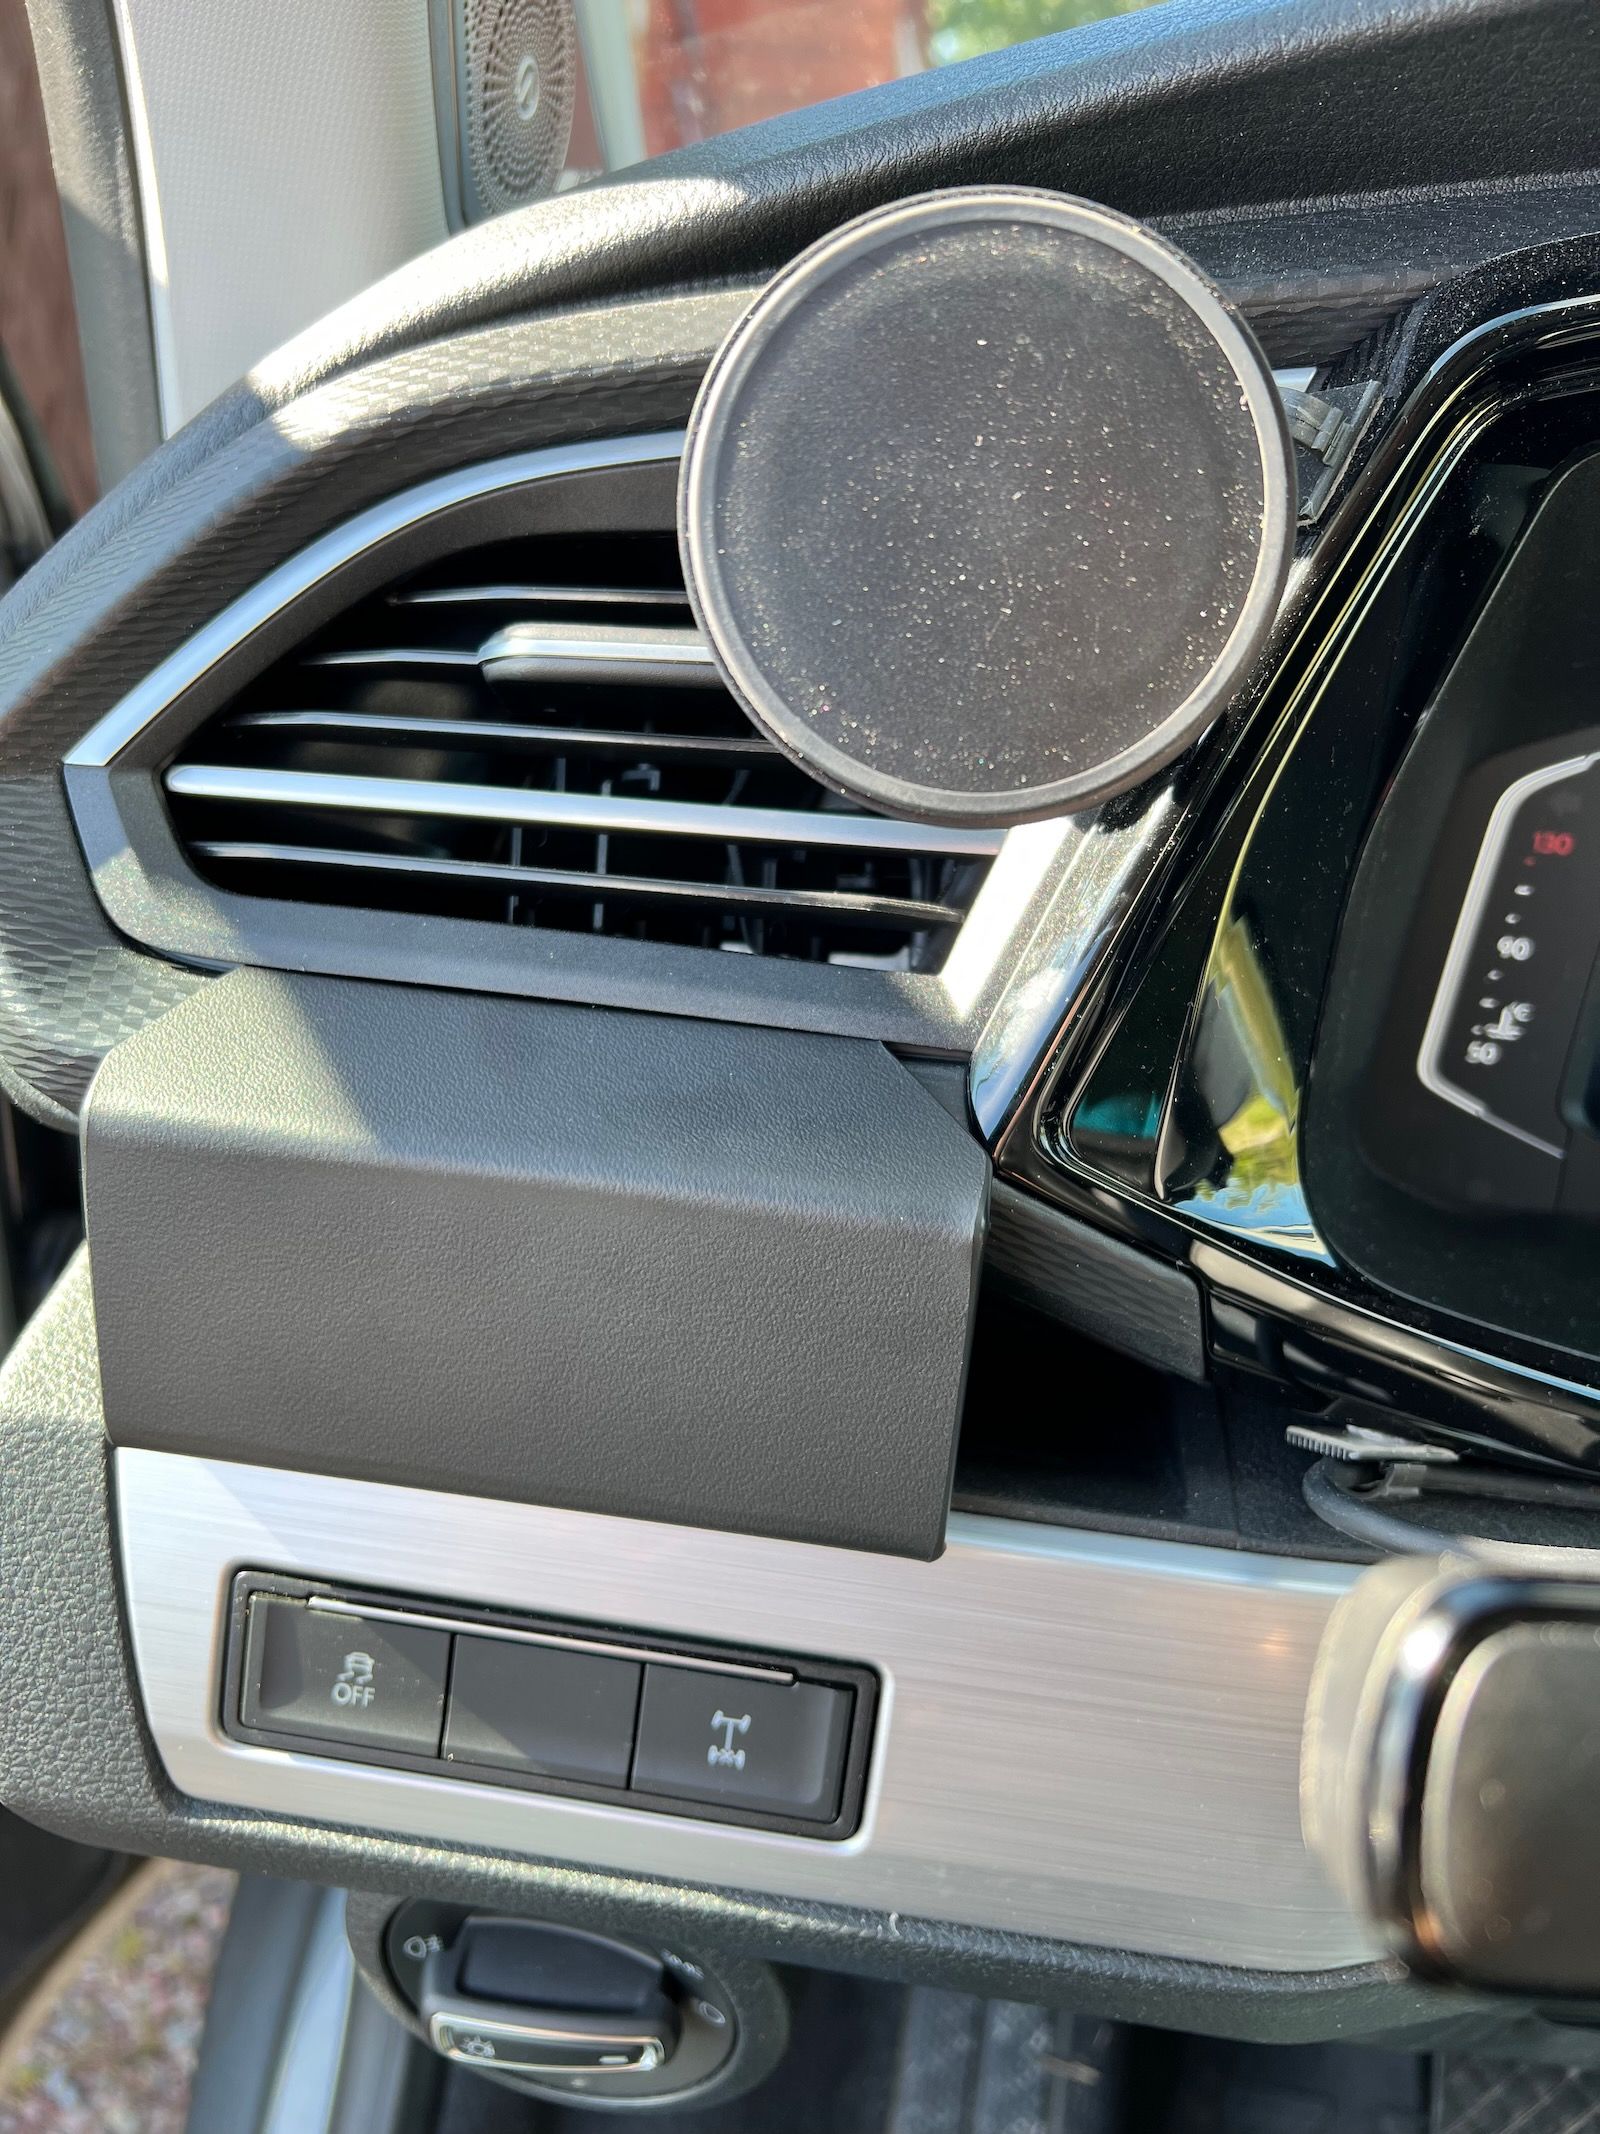

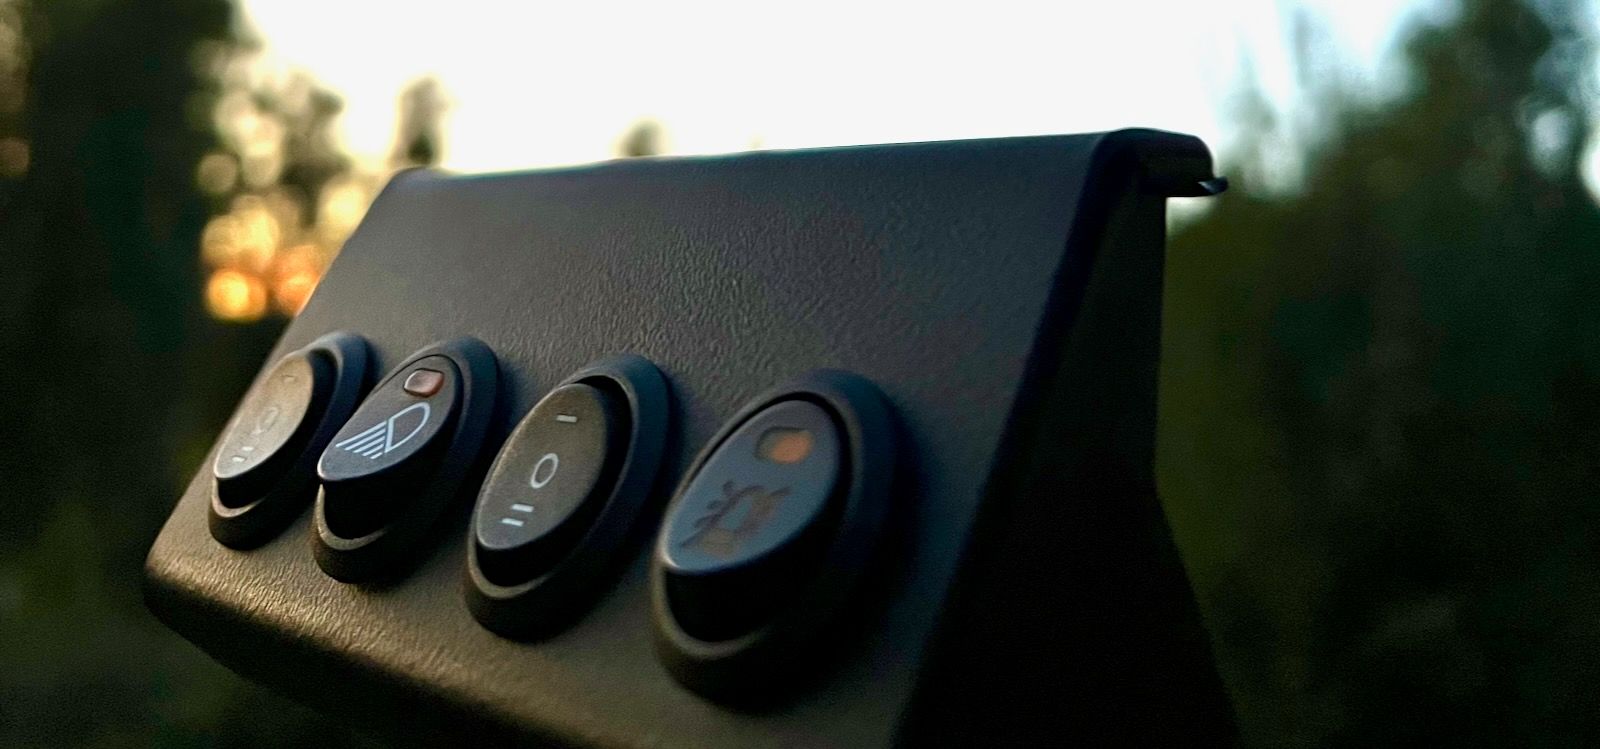
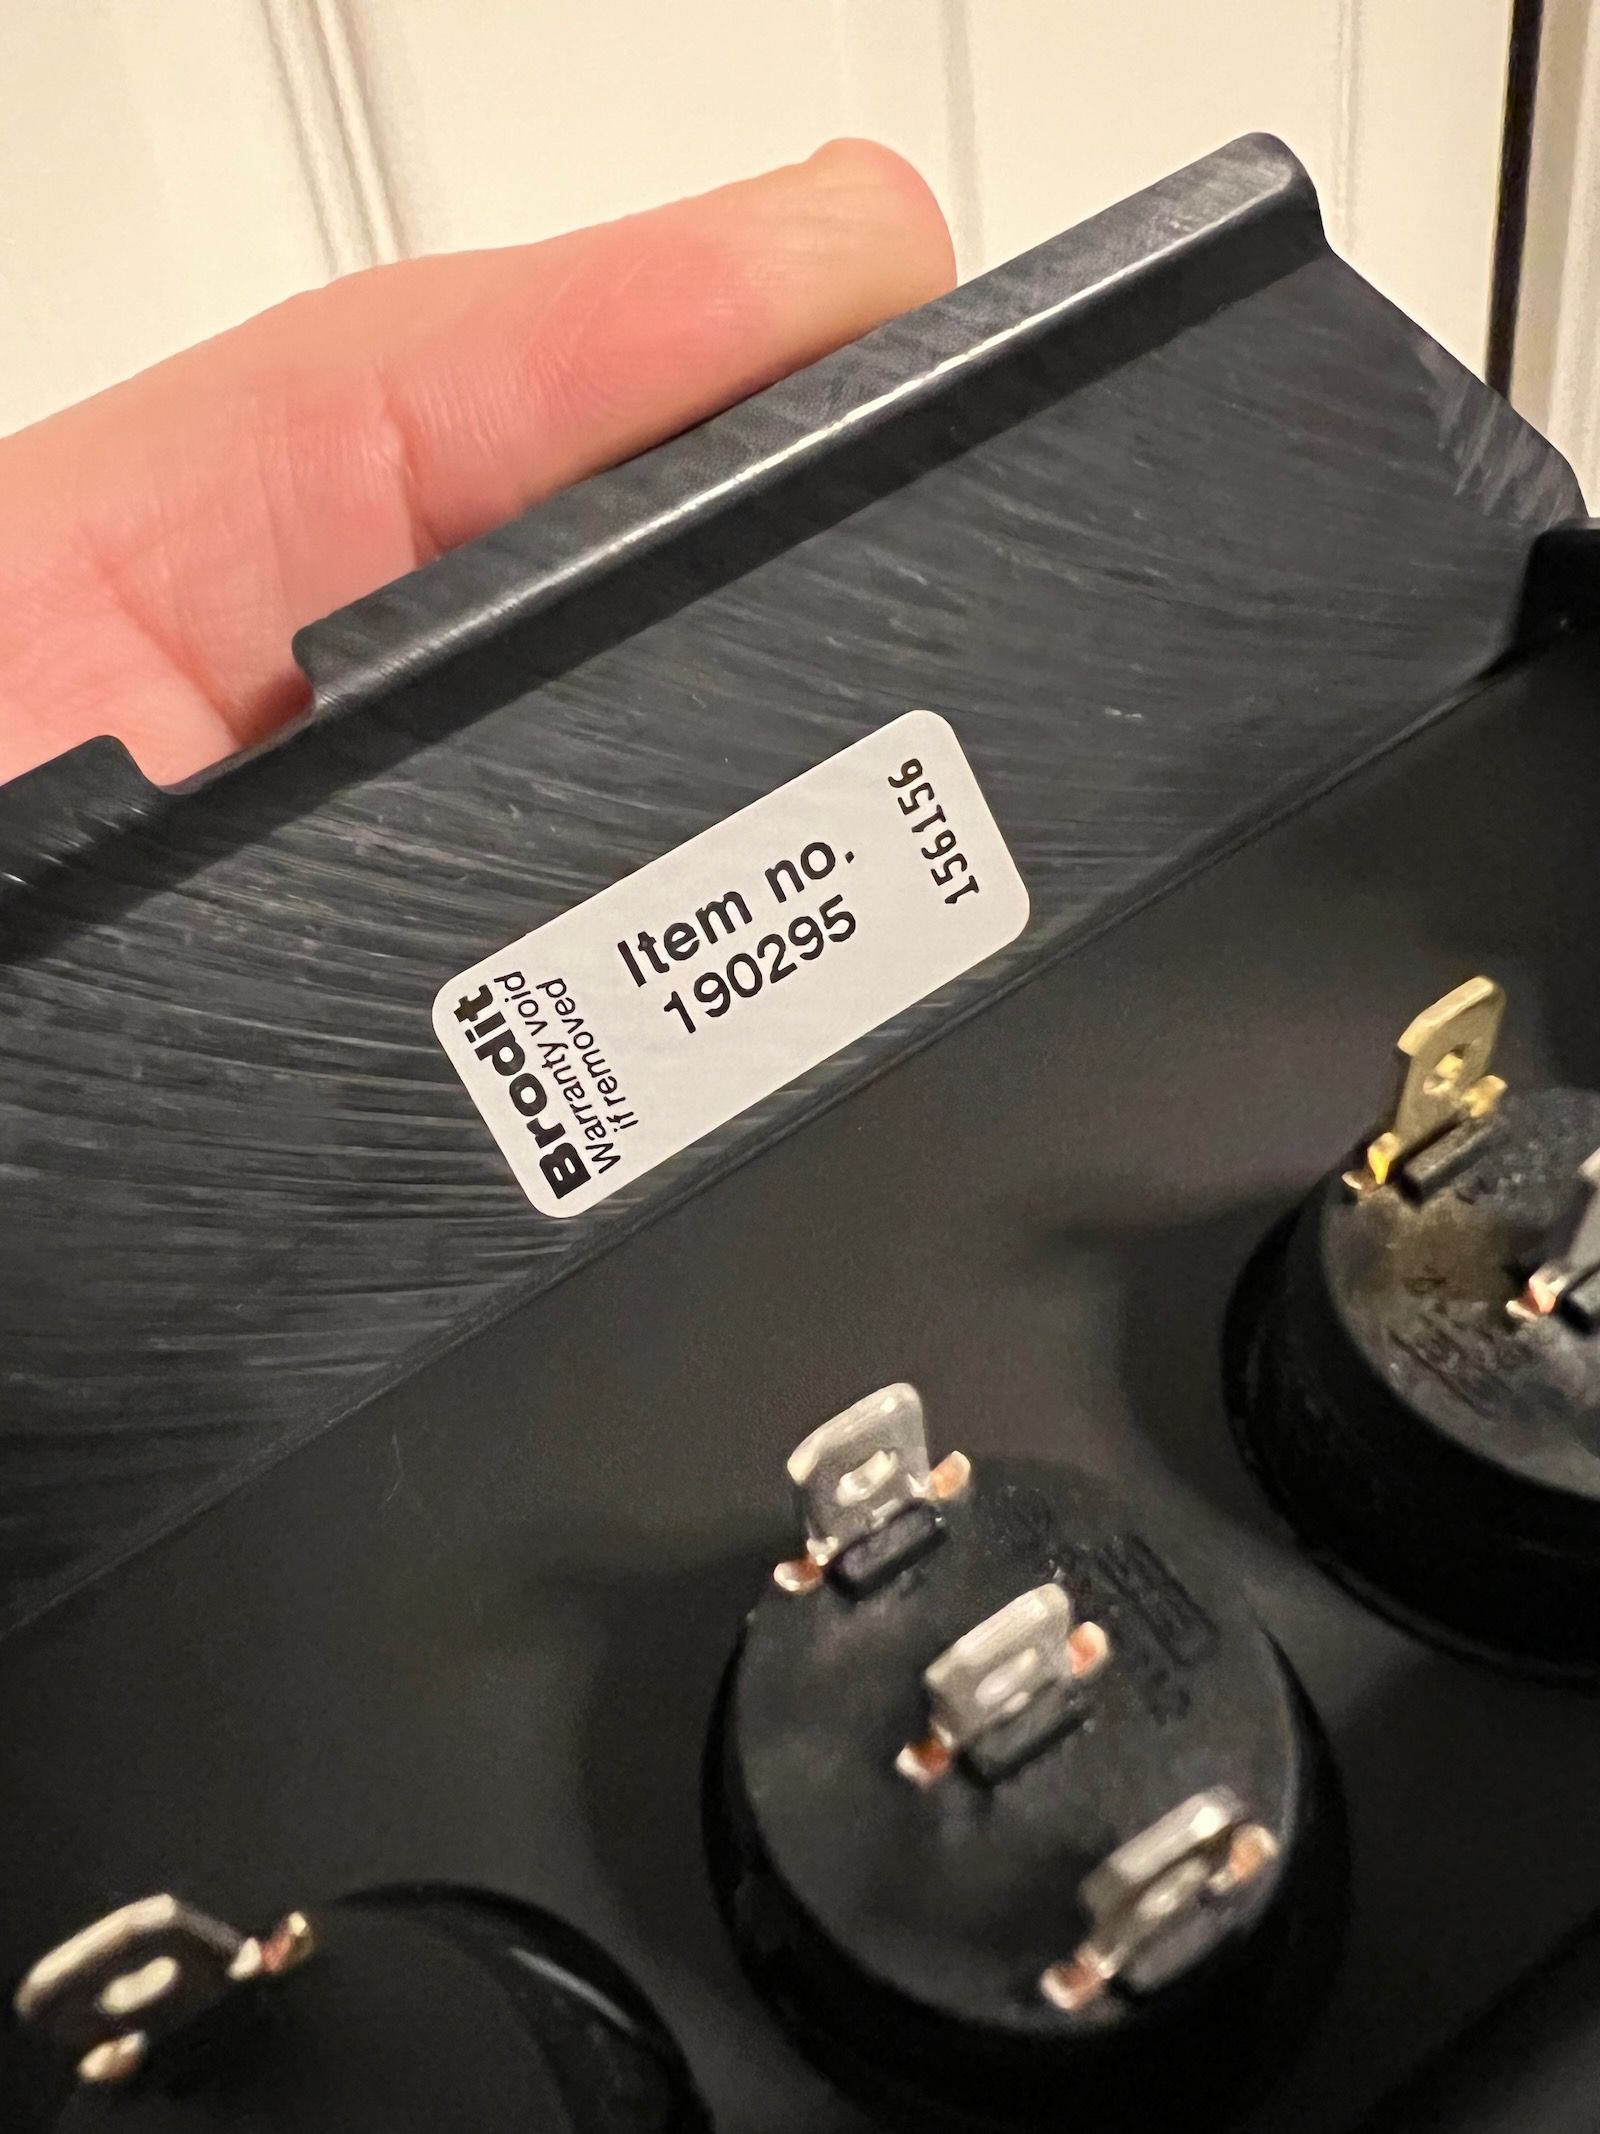
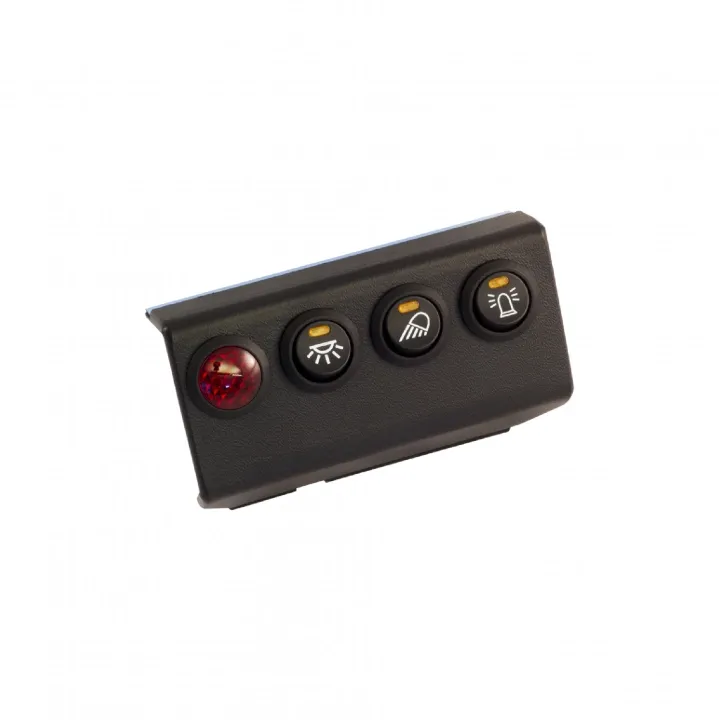
Switch holder for T6.1 (by Brodit)
https://fordonsshoppen.se/sv/knappkonsoll-vw-t61-for-4-knappar-
Lastly, we'll run two wires through the "firewall" to the front (just above the OBD-area or near the bonnet release is on the inside) to switch the position light of the Strands Siberia Dark Knight Identity 20" LED between OFF / ORANGE and WHITE.
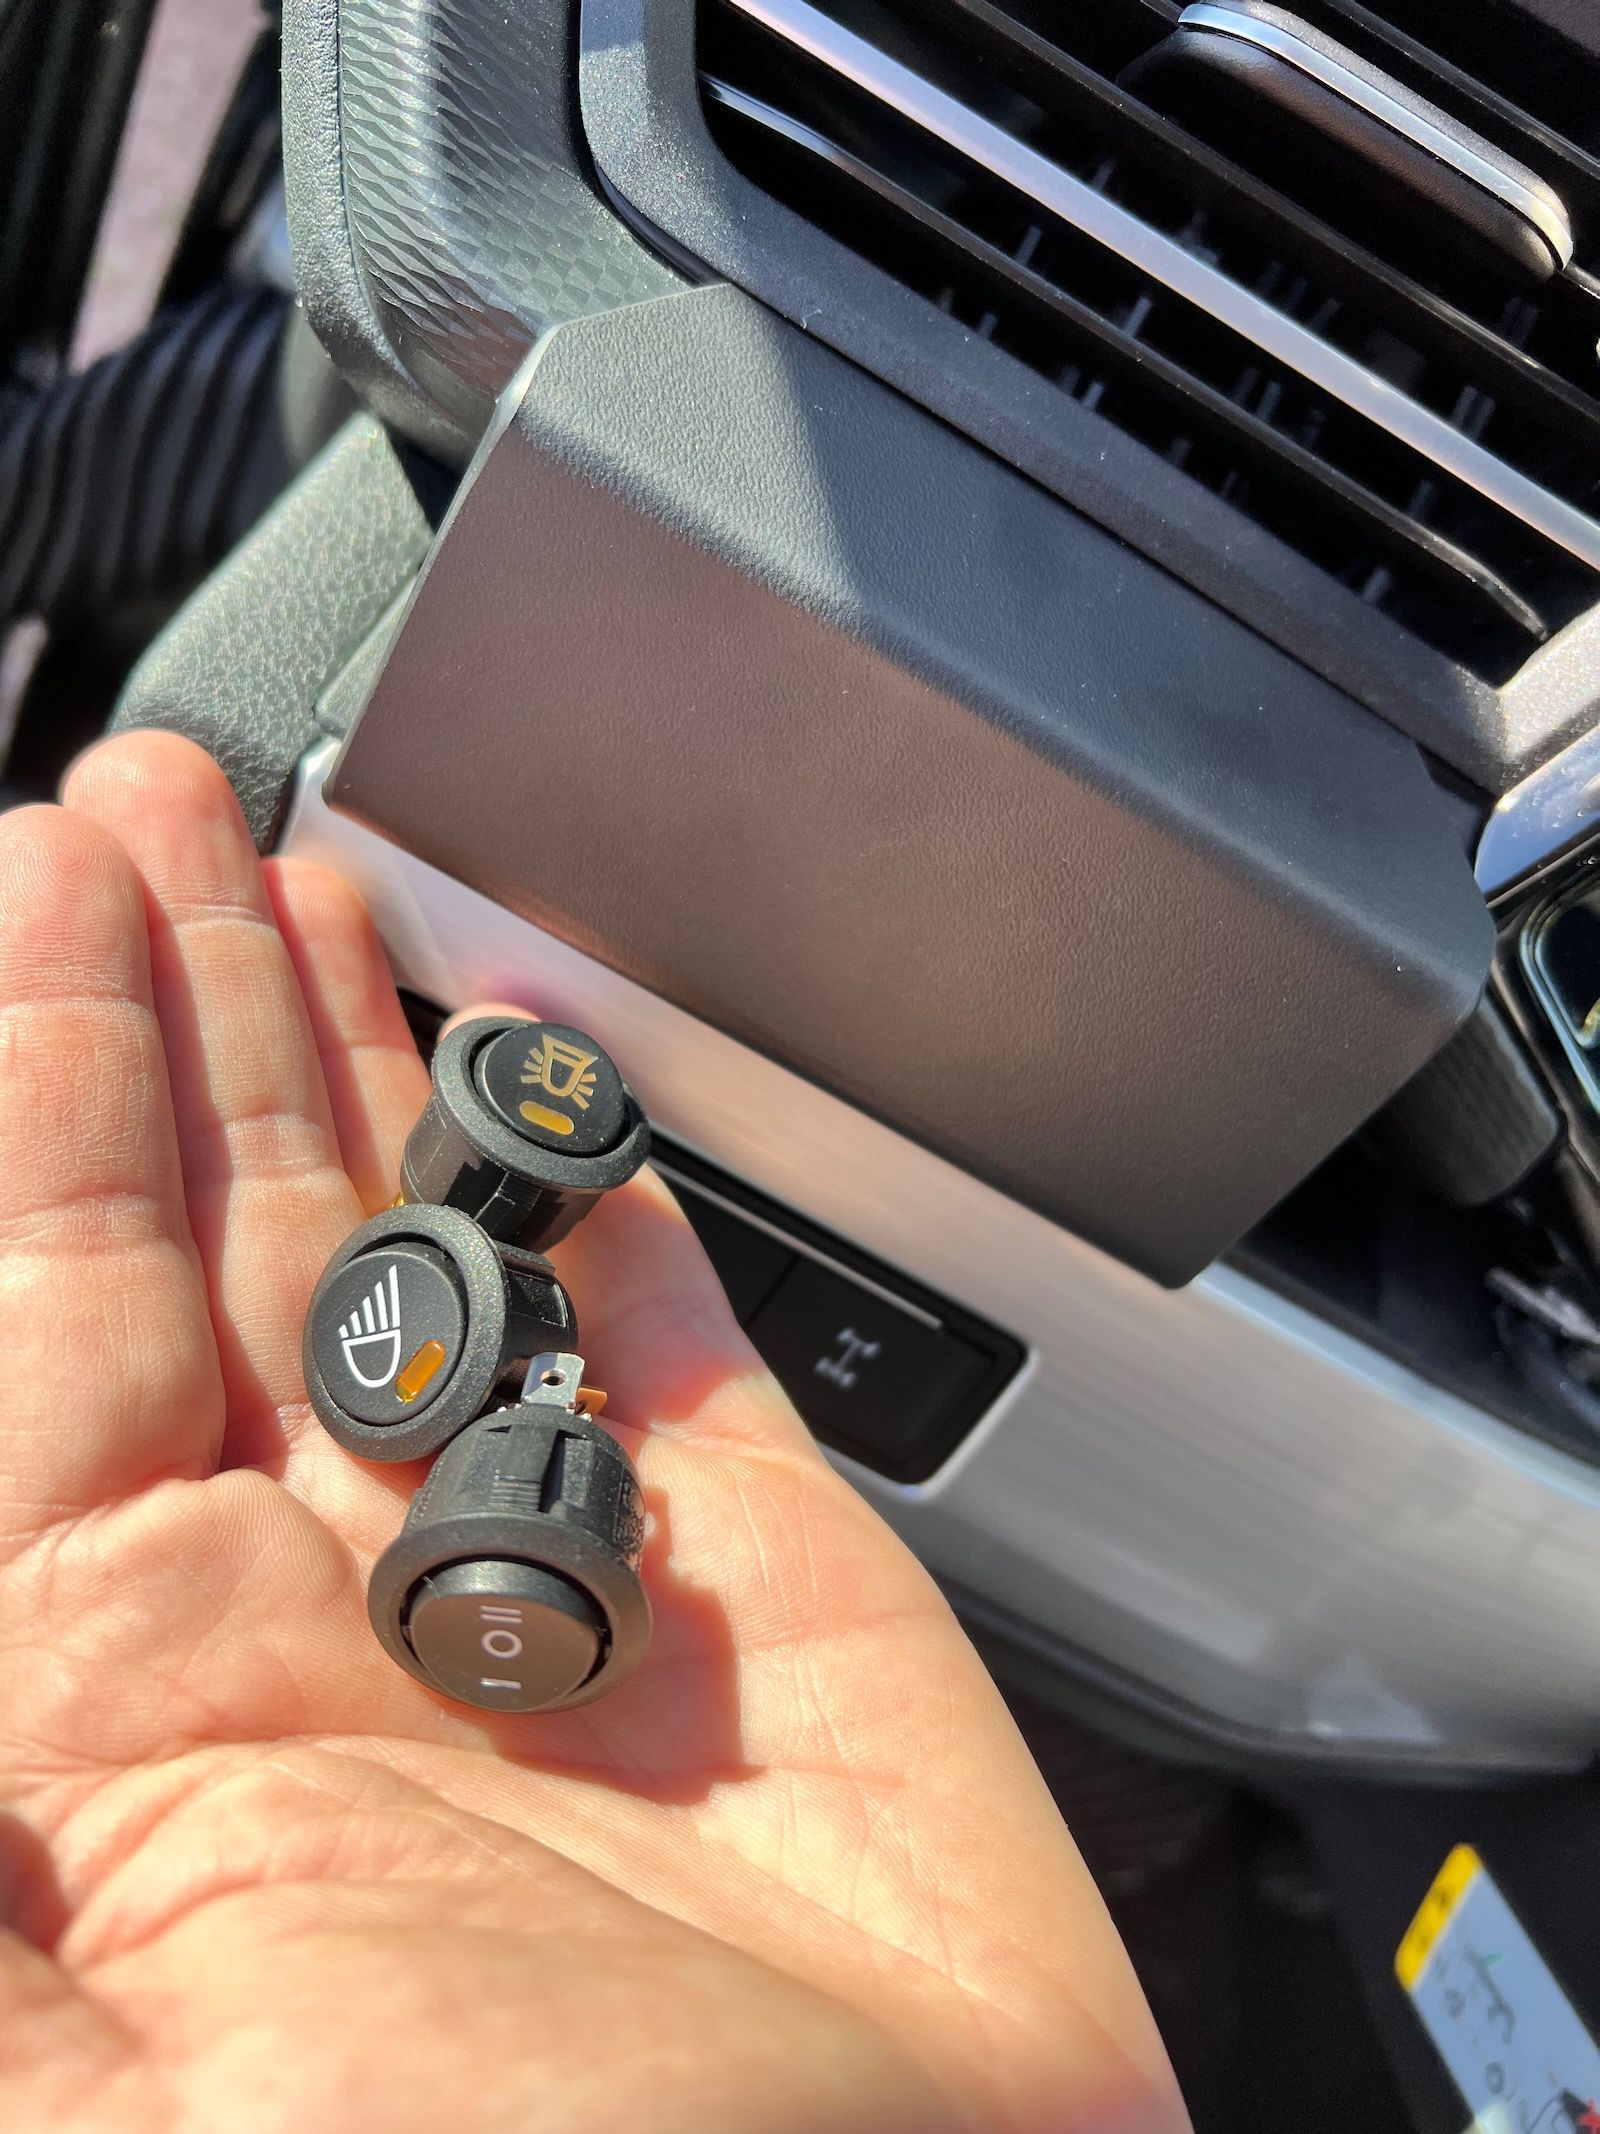
So in total, this is what the buttons do - from left to right:
Left Dual position button:
- white DLR in Strands Dark Night Identity LED bar
(middle = off, no DLR)
= orange DLR in Strands Dark Night Identity LED bar
Second switch (on/off, lights up when active):
Rear white work lights (2x Strands Red Fox + Strands RV in the middle)
Right Dual position button:
- red follow light in the two Strands Red Fox rear light
(middle = off, no follow light)
= orange follow light in the two Strands Red Fox rear light
Last button (on/off, lights up when active):
Orange Warning Flashlight in the two Strands Red Fox
Here's a short demo of the lights: